

Only workspace admins can set up, change or remove a synced folder. Members see Ask a workspace admin to set up a synced folder. The synced files are visible to everyone in the workspace, the same as uploaded private documents.
Set up a synced folder
1
Open Settings
Click Settings in the side menu and scroll to Sync a cloud folder.
2
Click Connect a folder
A window opens listing storage providers. Choose one and sign in. When it’s done you’ll see Import source connected successfully, and a Sync a folder from tile appears for that provider.
3
Paste the folder's URL
Open the folder in your storage provider in another tab, copy the URL from the address bar, and paste it into the tile’s field. For OneDrive (Business), the folder can be in OneDrive or SharePoint.
4
Click Start syncing
The tile switches to Importing, shows the folder name, and starts counting files.
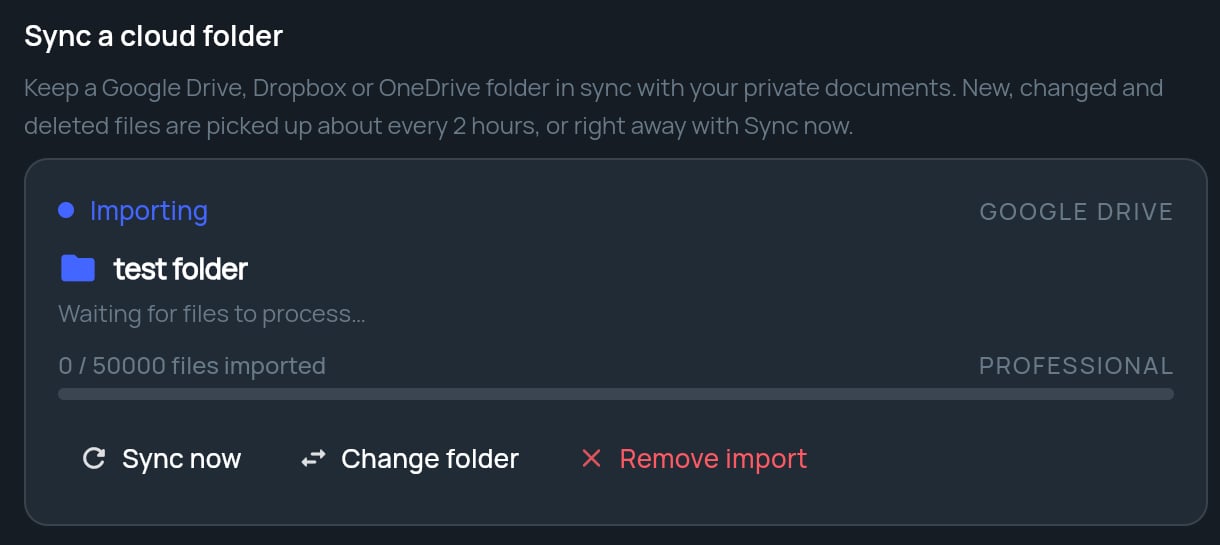
Read the sync tile
Supported files
PDF, PowerPoint (.pptx), Word (.docx), Excel (.xlsx), Markdown and plain text files sync. Google Docs, Slides and Sheets sync too. Other file types are skipped.
Sync, change or remove
- Sync now checks the folder immediately instead of waiting. A message confirms the sync has started.
- Change folder stops syncing the current folder so you can paste a different URL.
- Remove import stops syncing that folder.
File limits by plan
The file limit counts every private document in your workspace, both synced and uploaded. The bar on the tile shows your actual count and limit.
At 80% of your limit the tile warns that you’re approaching it. At the limit, syncing pauses and the tile says the file limit has been reached. Delete files or upgrade, then click Sync now to resume. Plans are on the Strategy pricing and VC pricing pages.